Photoshop Proving Ground
B&W Control Freak – Beautiful Control Over Color Conversion
In statistical terms, there are approximately one bajillion ways to convert a color photograph to black and white. In the June issue of Photoshop Proving Ground, I show you my favorite technique. It relies on a specific layer stack that allows surgical precision over the translation from color to gray.
On the market today are dozens of plugins and filters that will do this for you, including some built in to Photoshop Lightroom directly. They’re amazing! But I always end up coming back. It’s not that my method is “better” or accomplishes something unique, though…

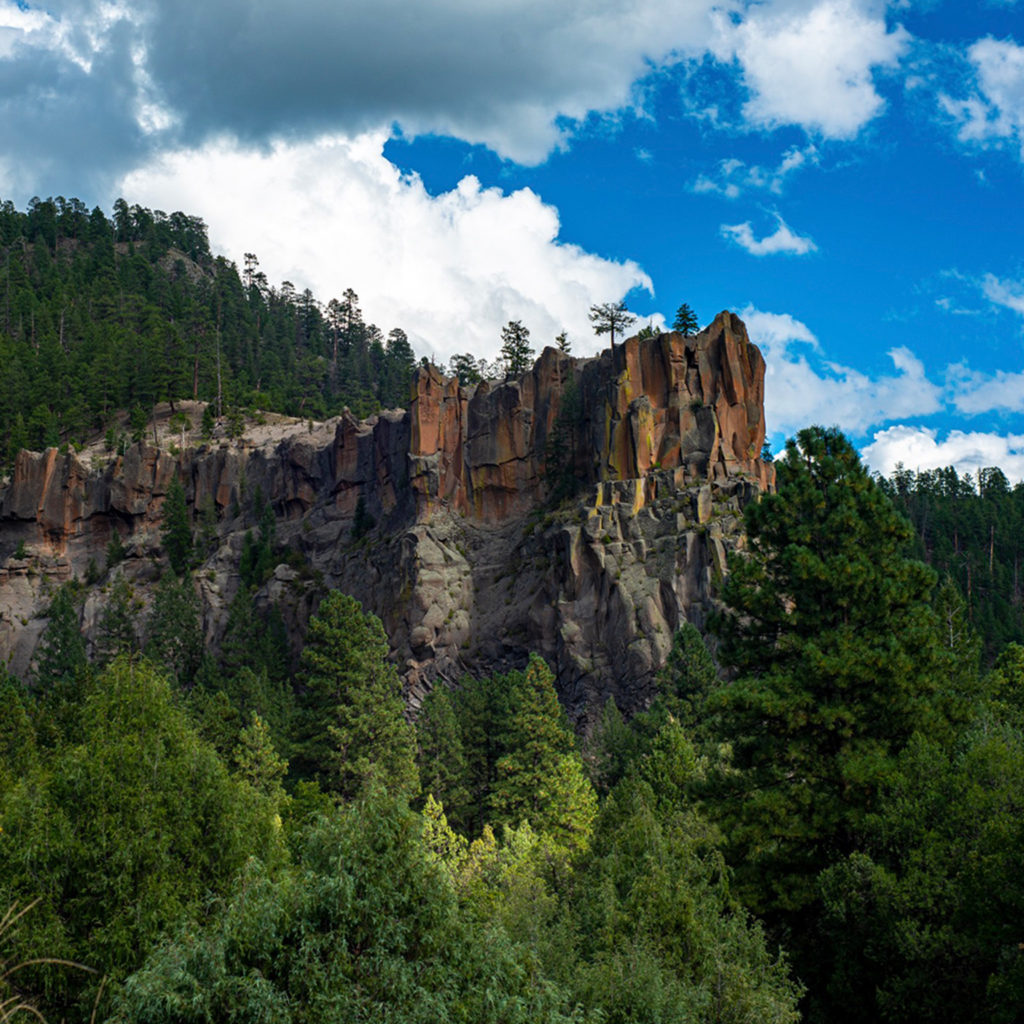
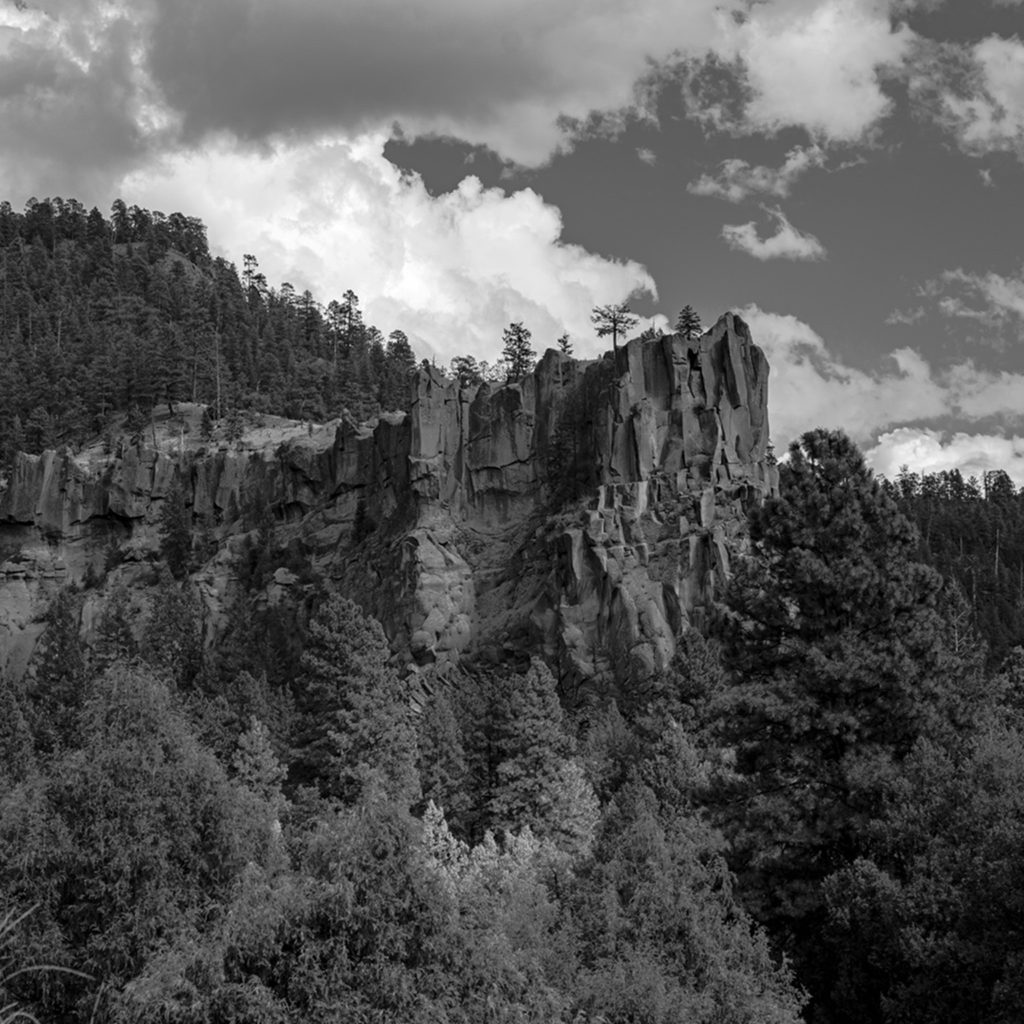
The reason I love this approach is because I enjoy the process. Being able to tweak not only red, green, and blue, but to hit pinks and oranges and not-quite-yellows with accuracy is very, very satisfying.
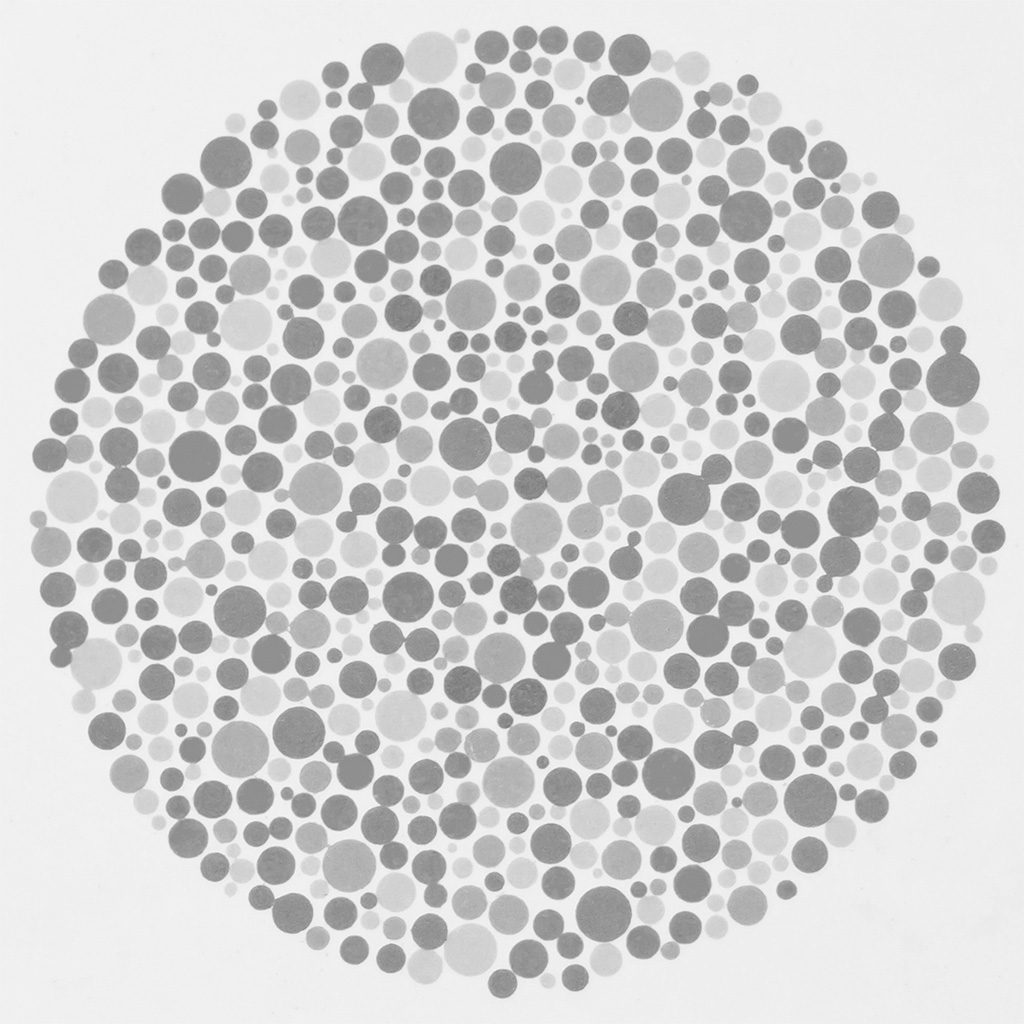
In the Before/After image above, you can see a typical Ishihara plate which is used to help determine colorblindness. I have a slight red/green deficiency so in the original plate I cannot see the number. Using an automated B&W conversion method the result is the “Before” image. The number is lost, but the conversion is technically “correct.”
Using my precision technique, you can easily decide which colors get priority and make an image that is truer to your interpretation of the color image.
While automated tools can give beautiful results, they may not be YOUR results. B&W Control Freak gives you the chance to realize specifically your vision. When coupled with tools such as Luminosity Masking, there is no end to the control and artistry you can bring to your greyscale images.
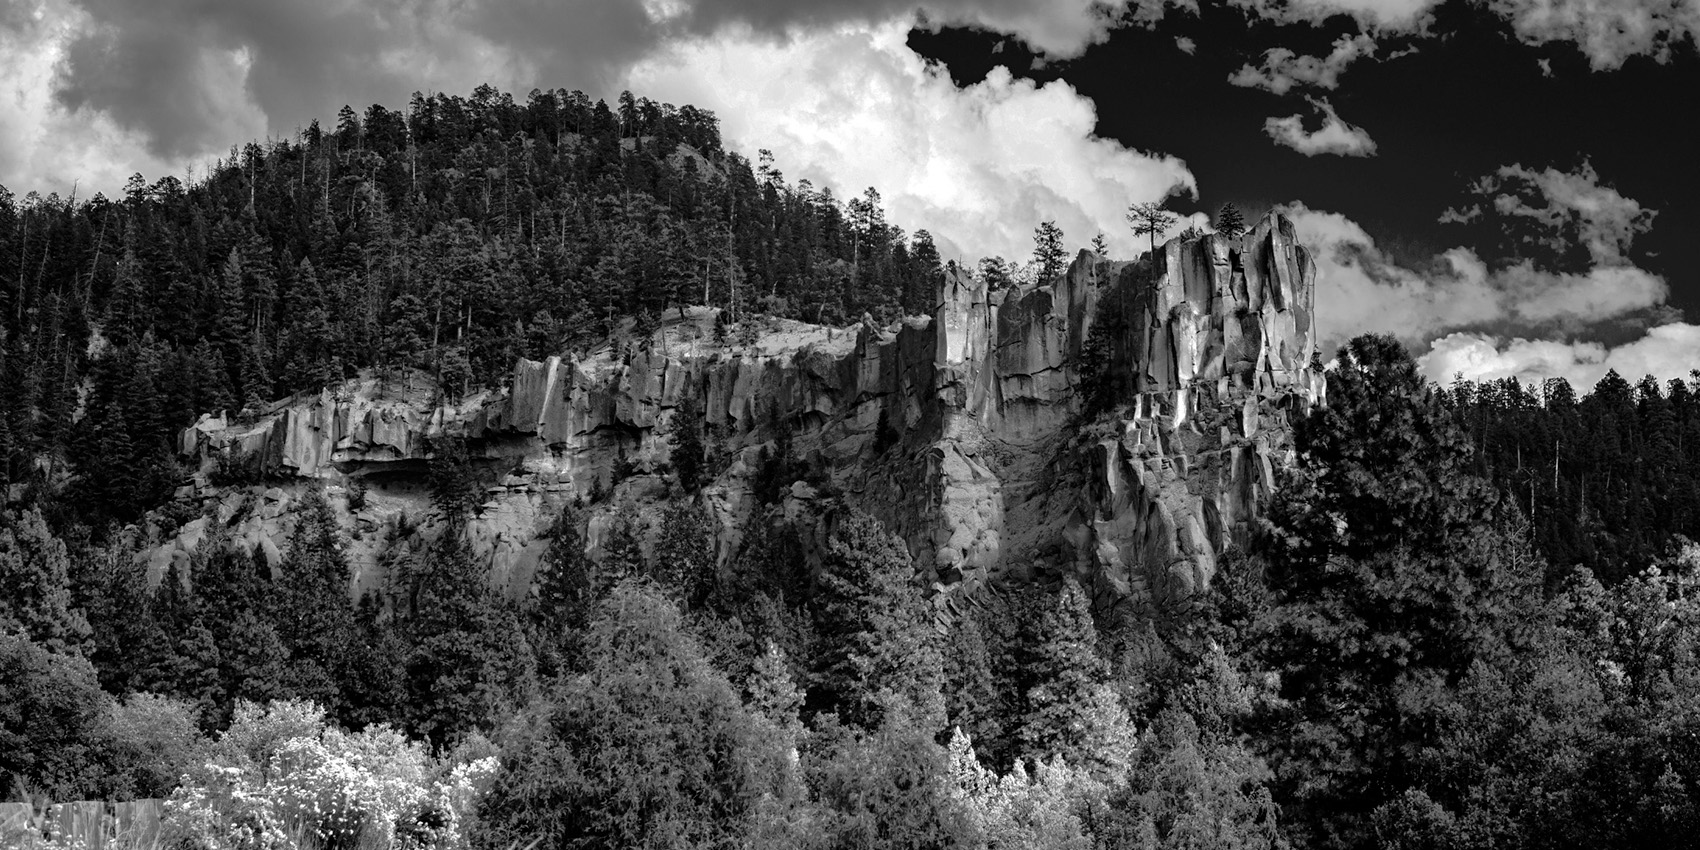
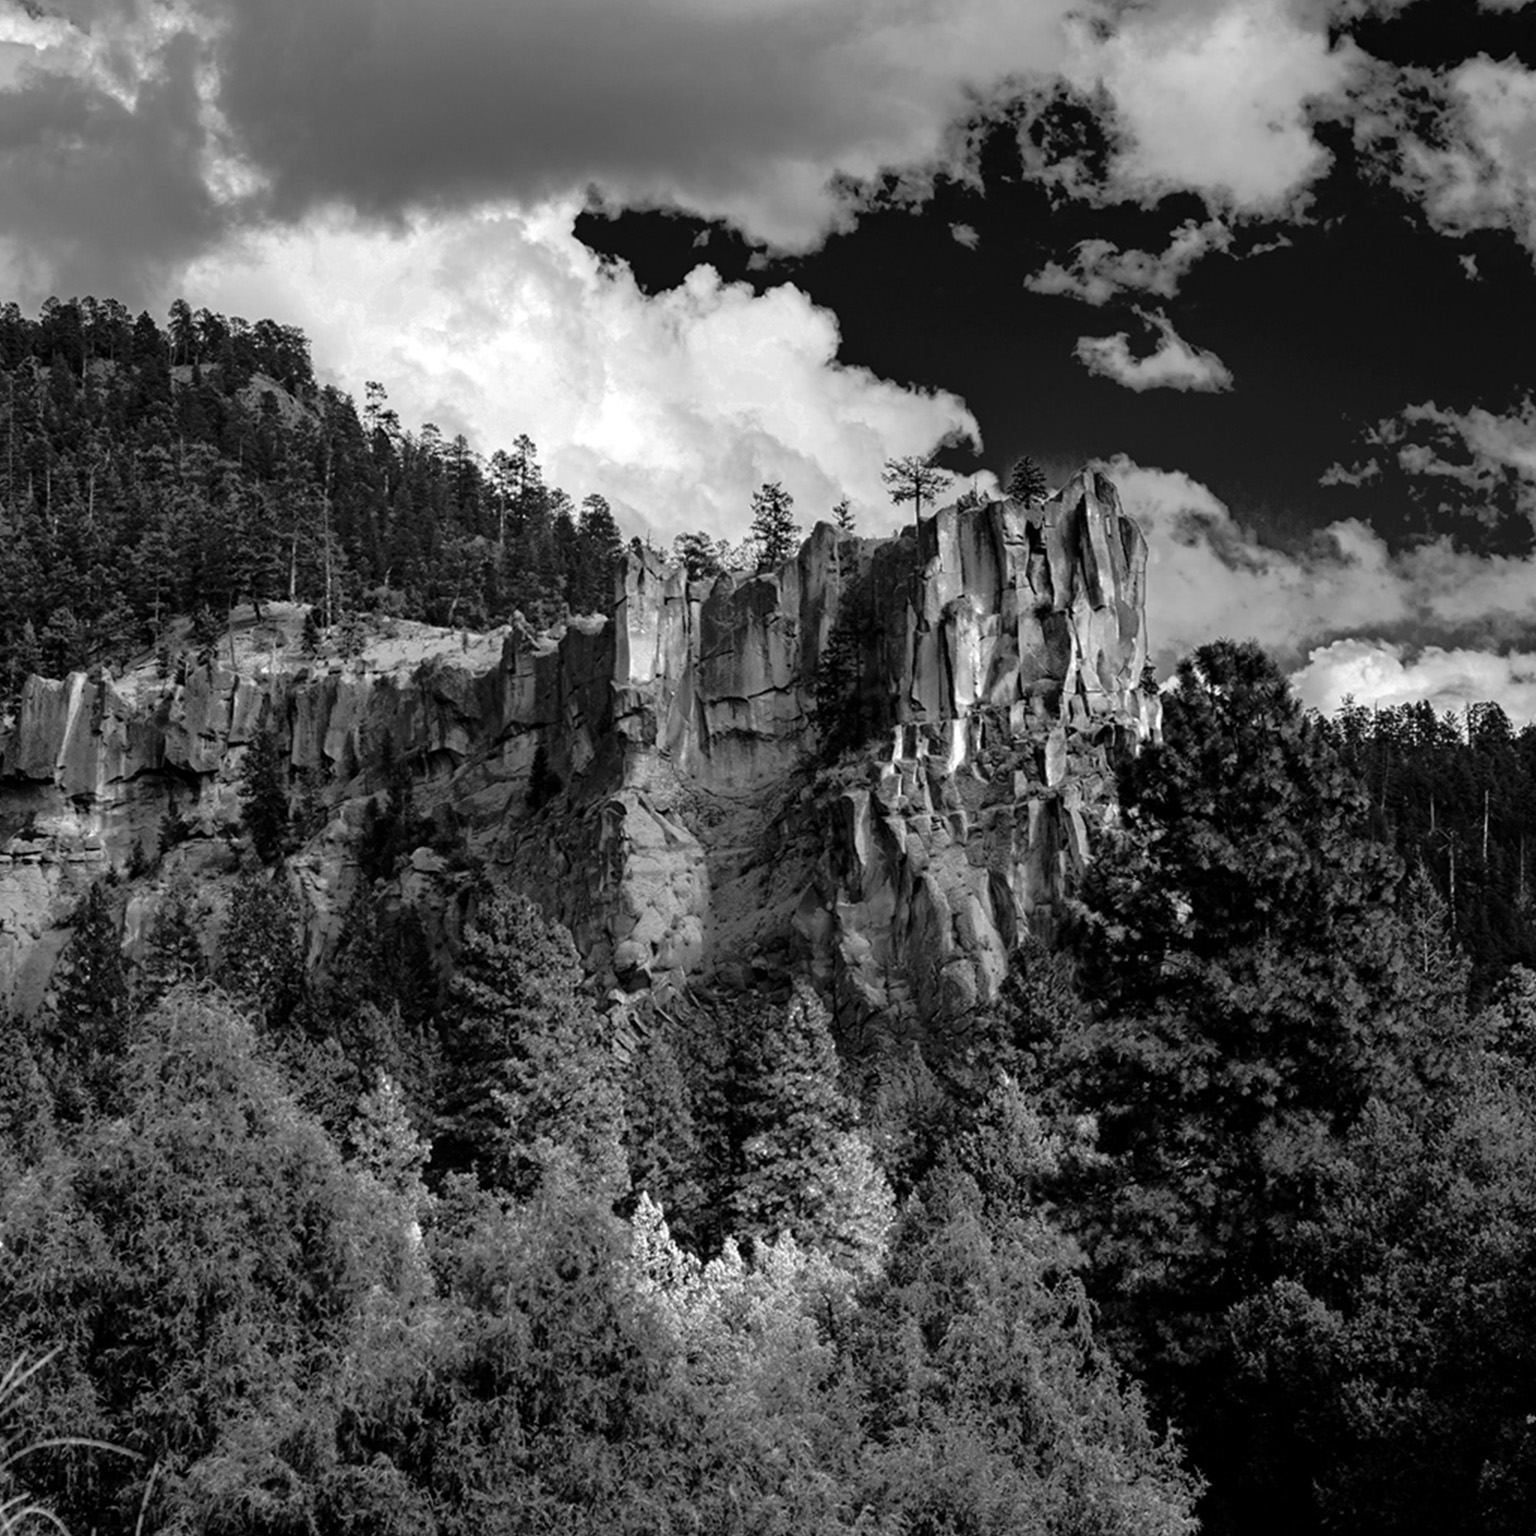
Check out the large size version of my Jemez Cliffs photo in B&W!

