Photoshop Proving Ground
Creating Custom Crop Overlays in Photoshop
Despite it being one of the most critical elements of photographic editing, there are very few tools in Photoshop dedicated to composition and layout. To be sure, you can use guides and guide sets, and the Crop tool does have an overlay feature.
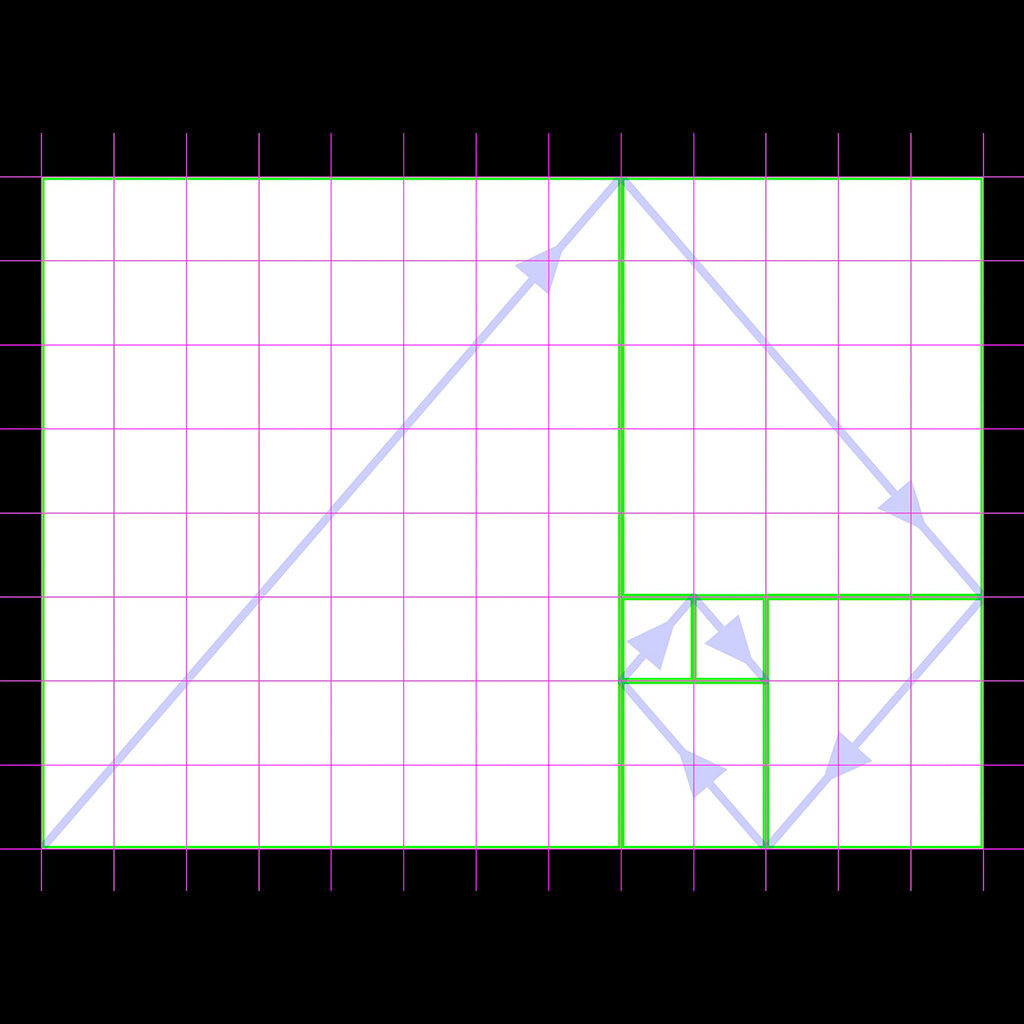
However, the Crop overlay is only active while using the crop tool, so you can’t really use it for general retouching or illustration. In the April column I show you a spiffy way to create a Fibonacci or “Golden” spiral that you can add to your CC Library for later use.
The benefit of creating your own overlay from scratch is that you will build deeper familiarity with the layout structure. You’ll eventually get a feel for balance and composition even while setting up a shot in the view finder. Plus you will get a better understanding of how other choices for overlay can affect your work.
You aren’t limited to creating a Golden spiral, either. The same general principles can be used to develop other composition tools, though you’ll need different grids and numbers. However, the idea of imposing some structure and creating a persistent guide is the essence of this month’s article.
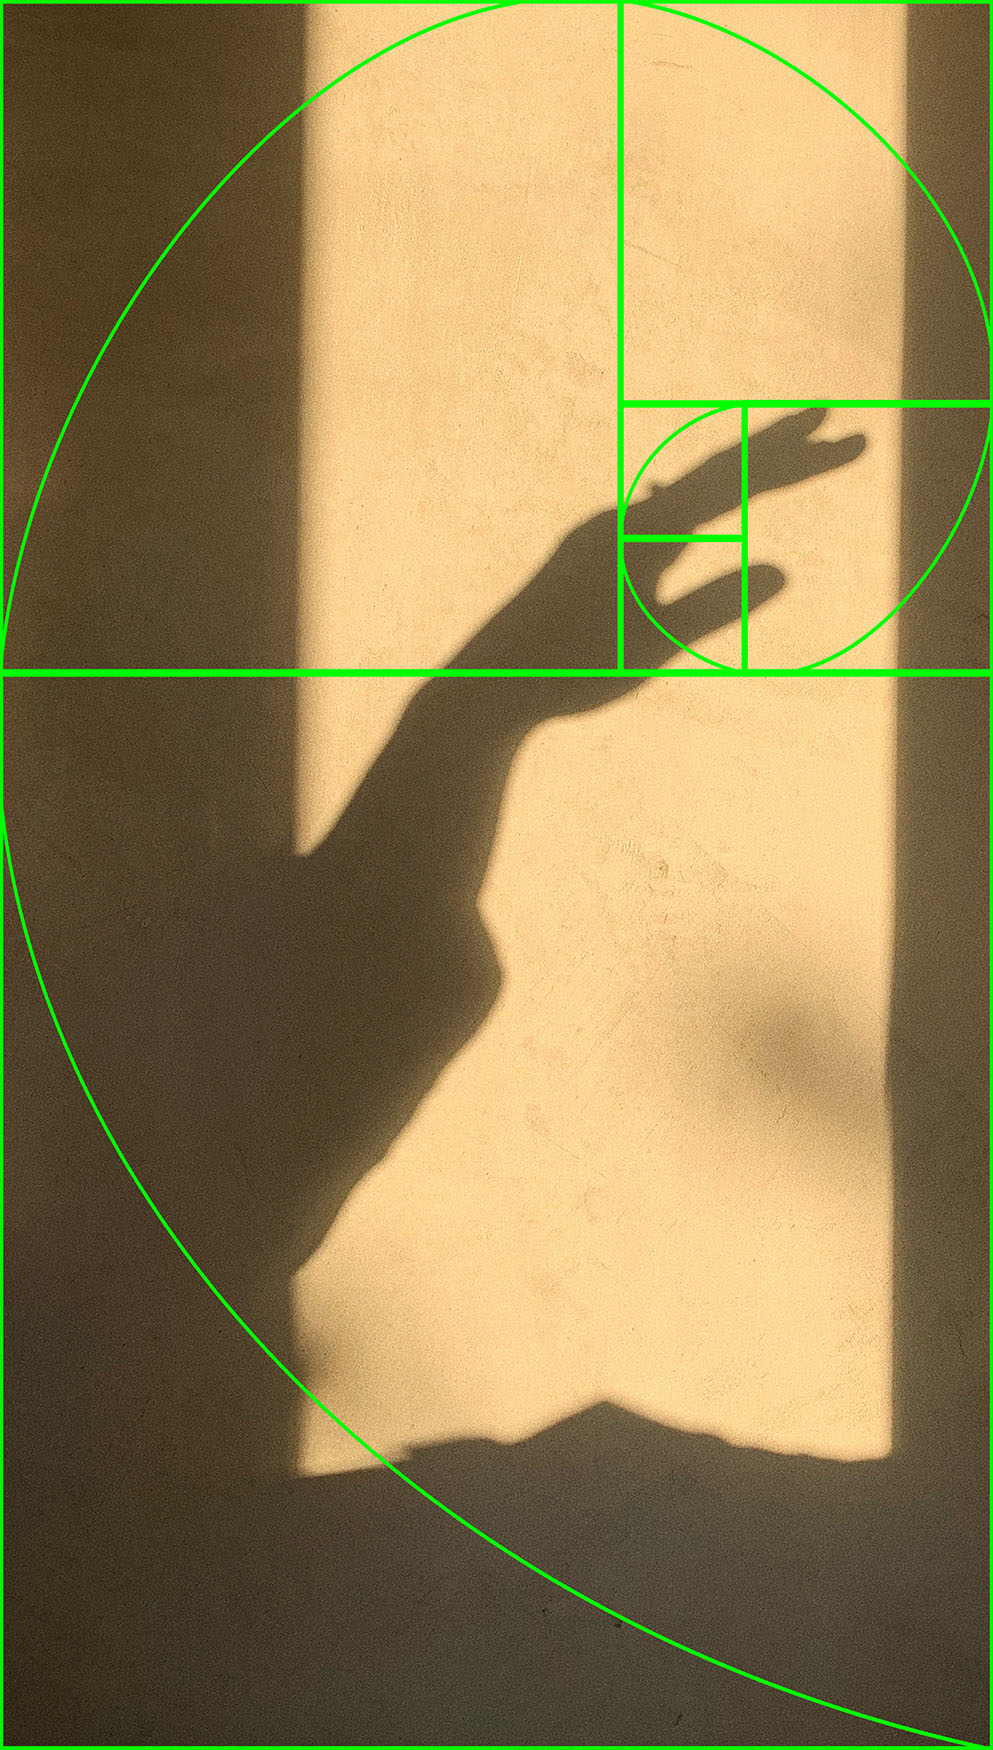

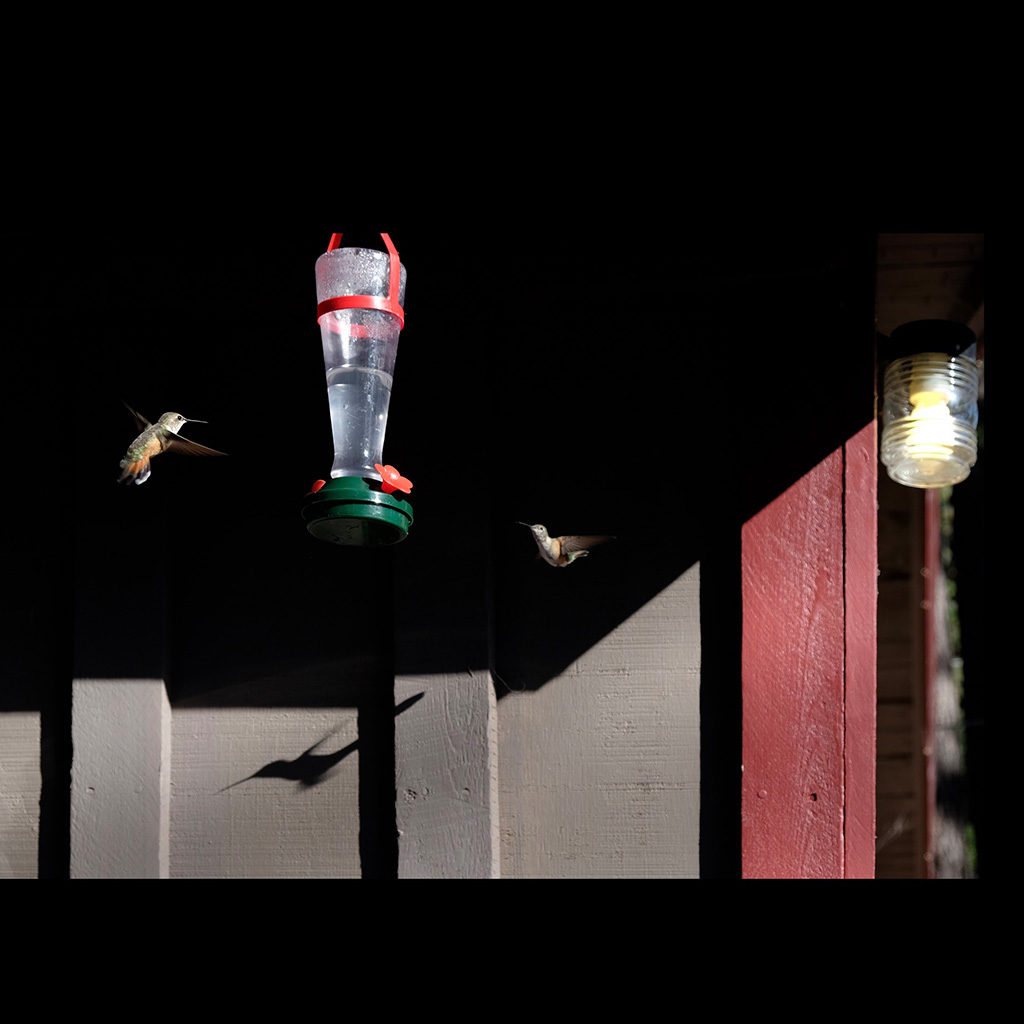
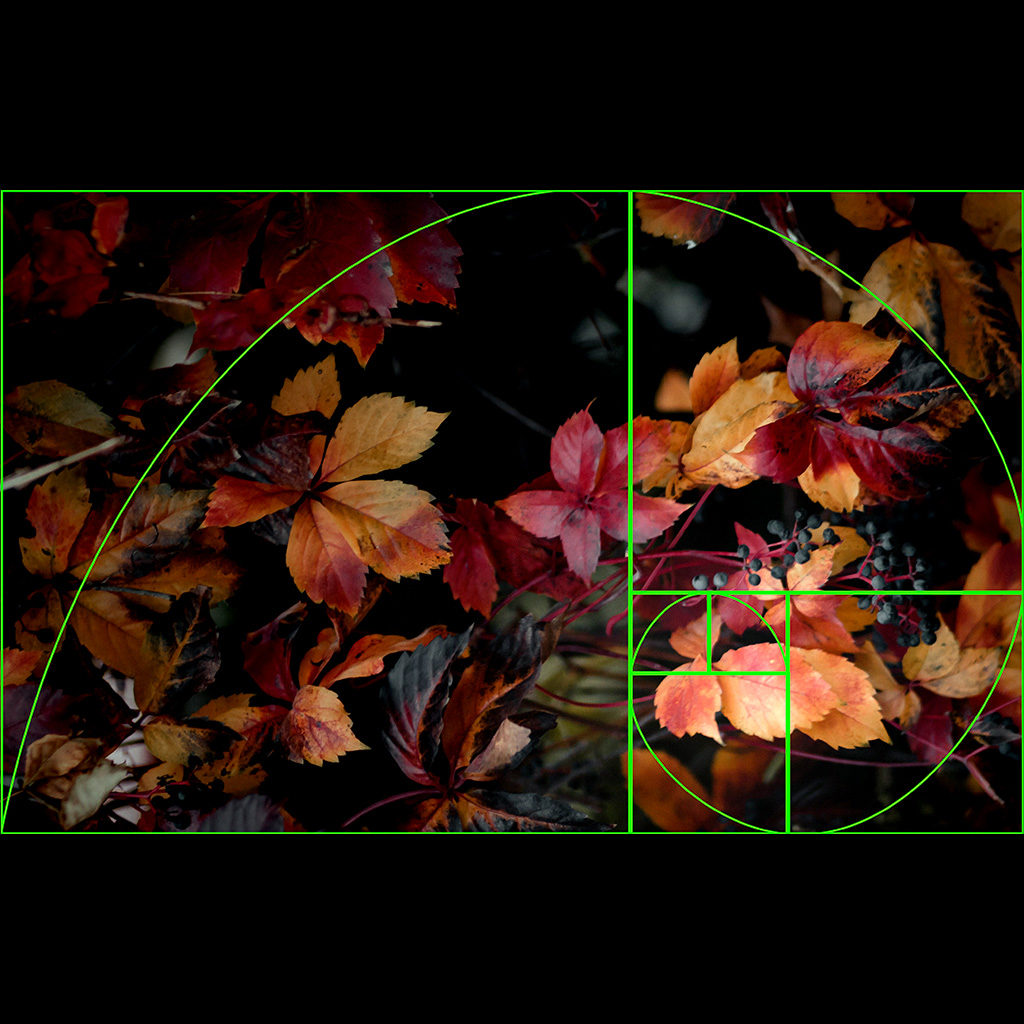
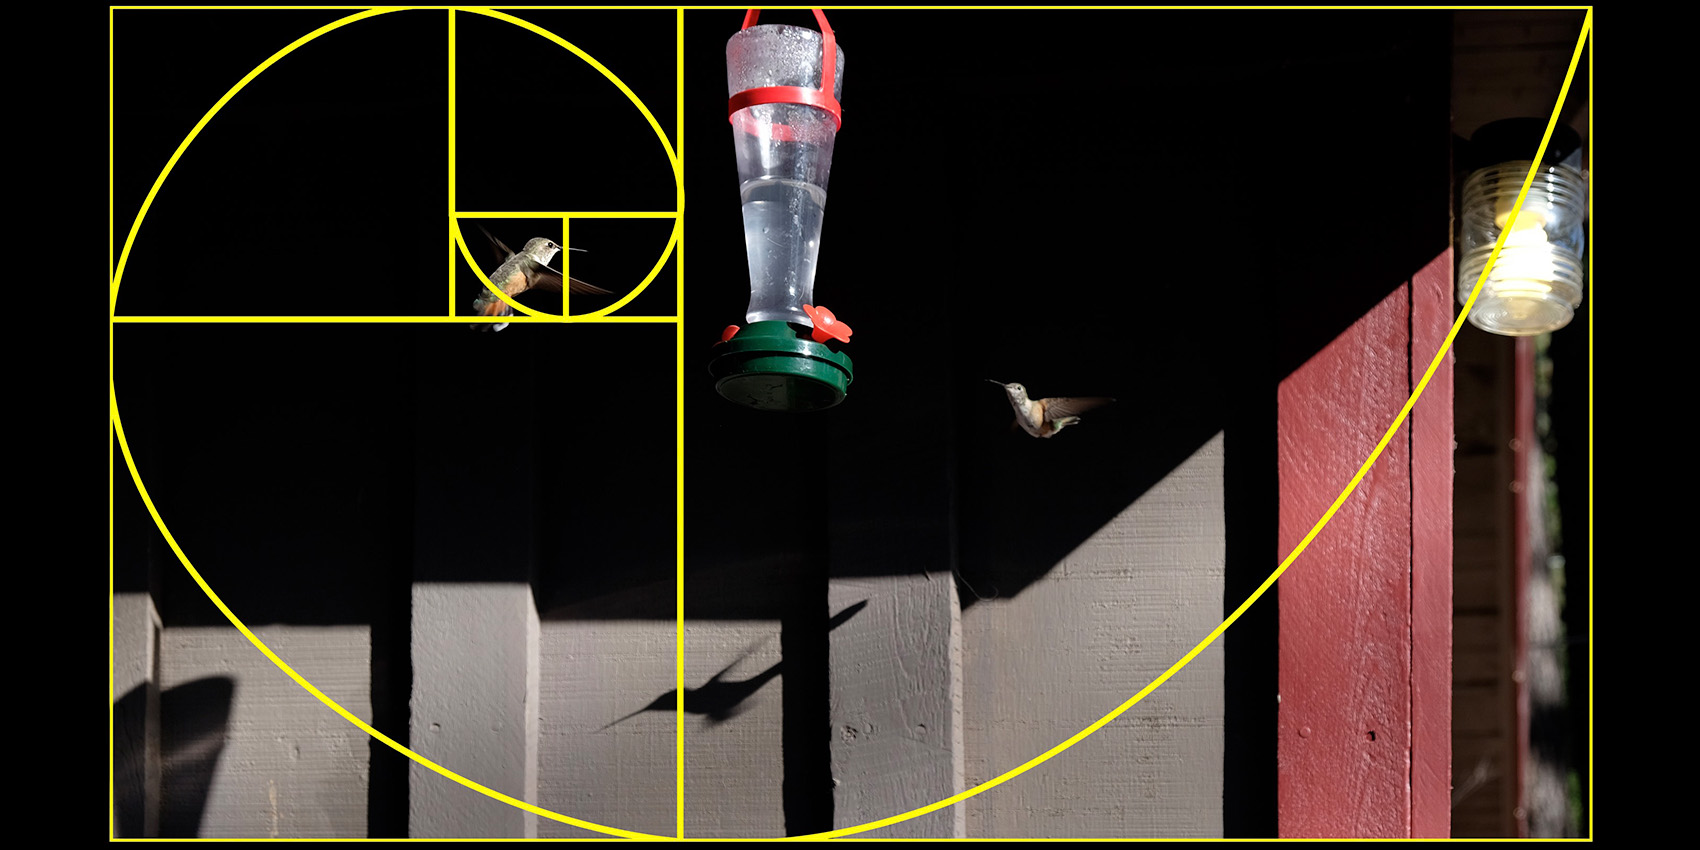
Part of using any composition guide is choosing so that your image is enhanced. In the hummingbird picture, I used the overlay to both straighten the background elements and place the contrast objects for visual rhythm. In the picture of leaves, I used the guide for dodge and burn to lead the eye to a central focus point where none previously existed in the image. Try this out with flat texture images to see how simple contrast editing can benefit from composition guides!

